Insights ·
Four Steps to a Branded Post
Most social media tools land at one of two extremes: so loose that posts look inconsistent, or so structured that nothing spontaneous gets out. Here's how a four-step wizard finds the middle.
The idea is right there. Someone on your team sees something worth sharing — a new product, a happy customer, tonight’s special — and wants to post it. That part is easy.
What happens next is where it falls apart.
They open Canva and try to use a template. It doesn’t quite fit. The fonts are close but not right. The photo needs cropping. The copy field is too short or too long. Twenty minutes later they’ve either posted something that looks off-brand or given up and gone back to work.
The tools built to fix this usually go too far the other way. Content calendars, automation workflows, approval queues. Now someone has to maintain the calendar, fill in the right fields, and wait for sign-off before anything goes out. There’s no room for a timely or improvised post. The person who noticed a great moment at 6 p.m. on a Tuesday has no path through the system.
Most social media tools land at one of two extremes: so loose that posts look inconsistent, or so structured that nothing spontaneous gets out. The goal here was to find the middle — a tool that gets you to a branded post fast, without making you a designer or a scheduler.
The wizard
The answer is a four-step web app, built to work on a phone, where anyone on the team can go from idea to scheduled post in under two minutes. This was built for a restaurant, but it works for any business where the people closest to the product are the ones most likely to have something worth posting — which is most businesses.
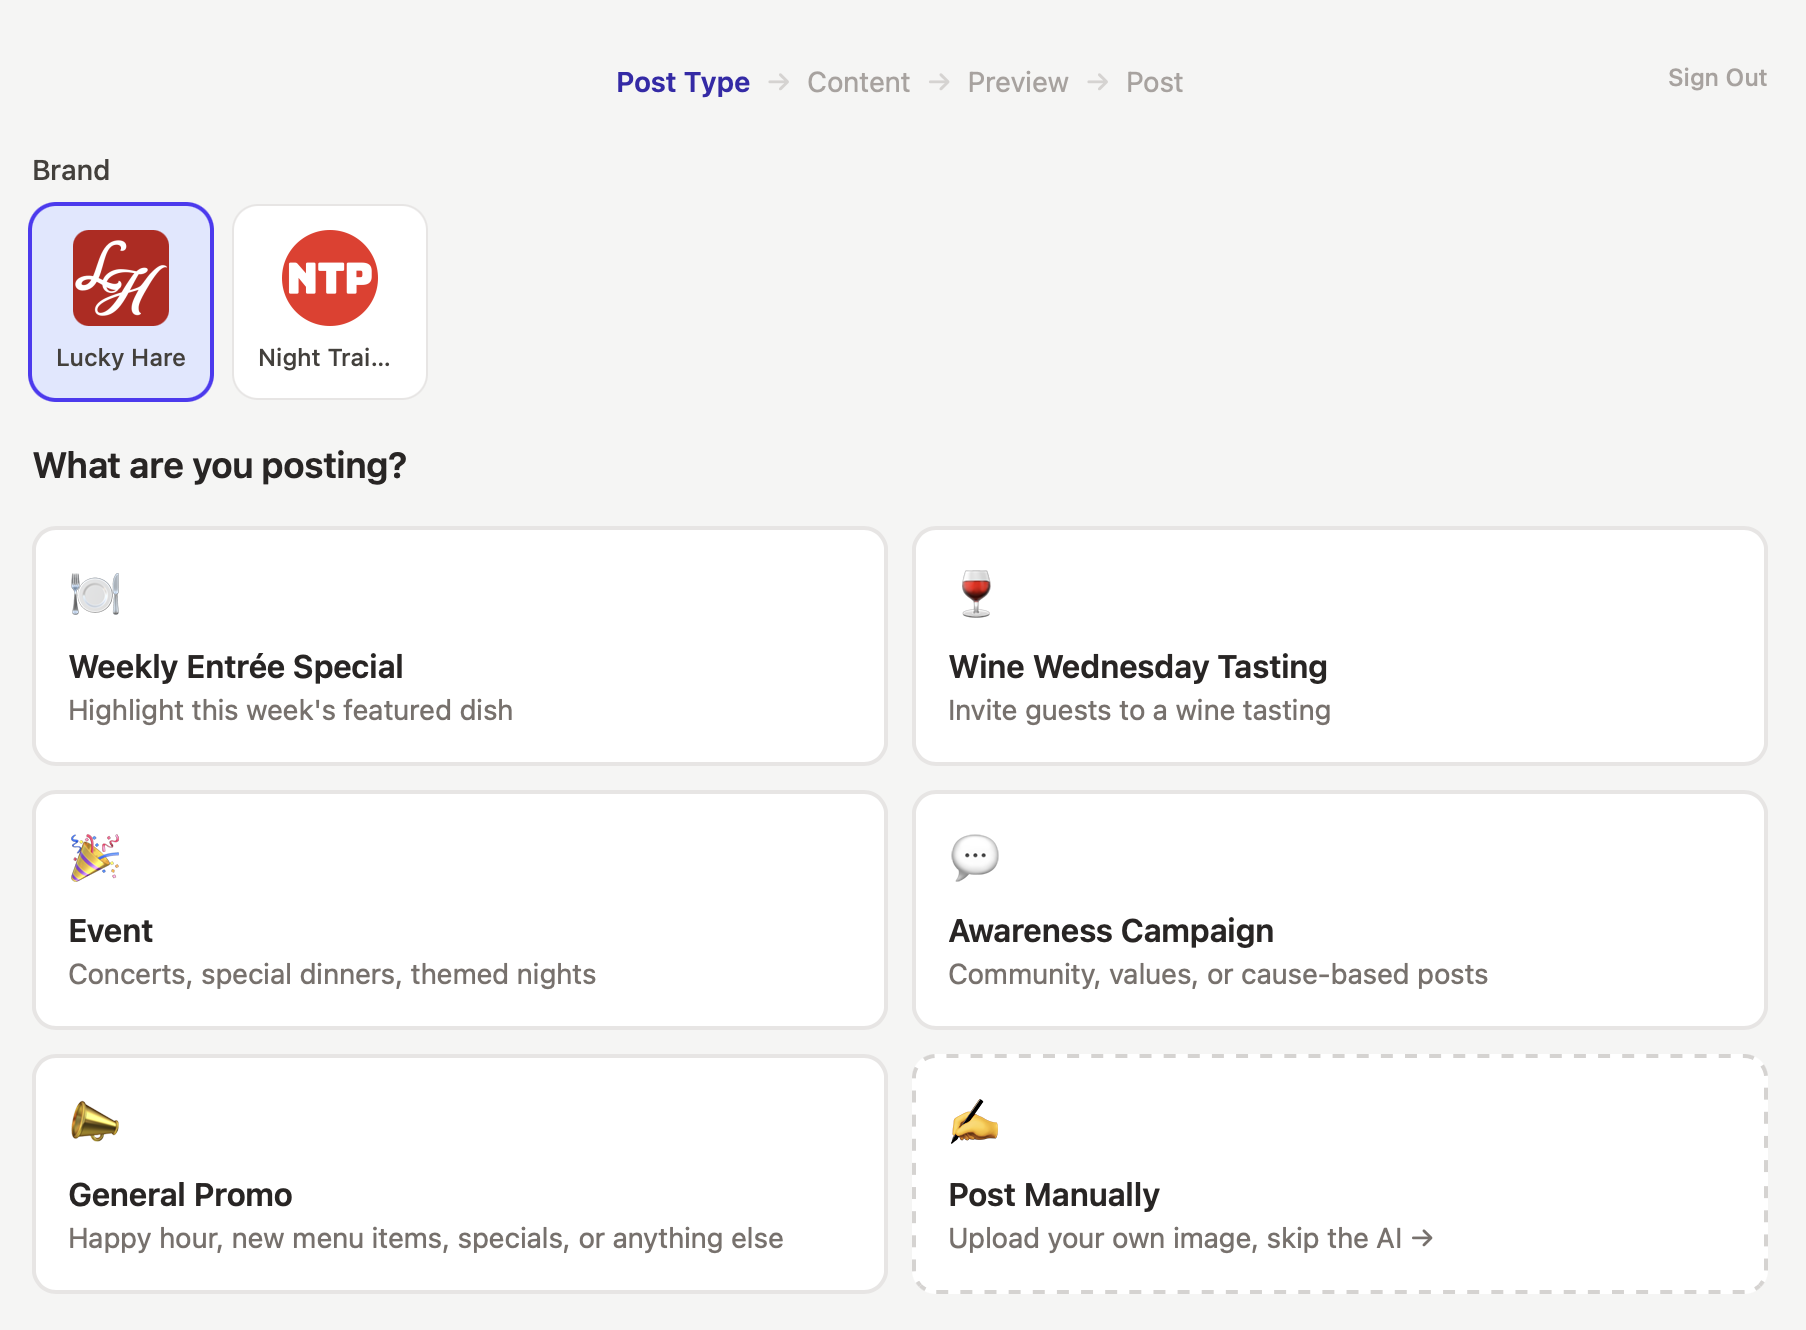
Step 1: Post type. Pick from a list of categories. For a restaurant: weekly special, wine tasting, event, general promo. For a shop: new arrival, sale, store event. For a service business: client spotlight, tip of the week, seasonal offer. The category shapes the form. No blank page. No guessing what to fill in.
Step 2: Details and photo. The form shows only the fields that matter for the post type you chose. An event asks for a date and an optional link. A product post asks for a short description. Upload a photo by dragging it in on desktop or tapping on mobile — you see a thumbnail right away. Nothing gets submitted without a photo.
Step 3: Preview and edit. Three AI calls run in the background. One writes a short headline — two to five words — for the image overlay. Two more write separate copy for Facebook and Instagram: different tone, different length, different hashtags. The photo is cropped to 1080×1080, the overlay goes on top, and the headline is set into the image.
What you see is what goes out. The copy sits in an editable field. The image is ready. Hit regenerate if you want a different take. The AI gets you past the blank page; the edit field is there for when it gets something slightly wrong.
Step 4: Schedule. One button adds the post to the queue. By default it slots into the posting schedule — nothing else to decide. If the post is time-sensitive, skip the schedule and post immediately, or pick a specific time. One choice either way.
See it in action
Multiple brands, one app
The wizard runs two restaurant brands from a single app. Step 1 has a brand selector. Each brand has its own colors, fonts, channels, and AI prompts. Pick the brand and everything downstream changes — the overlay, the copy tone, the visual style. From the outside it looks like two separate tools.
The same setup works for any multi-brand or multi-location business: a franchise, a company running several concepts, an agency handling multiple clients.
Overlay templates
Each brand can have a custom image overlay per post type — a transparent PNG made in Canva or Figma, placed over the uploaded photo. That’s what turns a phone photo into something that looks designed. Brands without a custom template fall back to a frosted bar — still on brand, still clean.
Admin panel
A password-protected admin page handles brand settings without touching any code. Adjust overlay colors, set fonts, upload a logo, add overlay templates per post type. Drag a box on the template to define where the AI headline goes, then set the text alignment, color, and size. Changes go live immediately.
A few things worth noting
Fonts match the brand. One brand here uses a variable font — one that lets you set exact weight, optical size, and softness rather than picking from a fixed list. The app handles both variable and static fonts the same way, so the headline on the image actually matches the brand’s typography.
The scheduling API changed mid-build. The original integration used a REST API that was retired partway through. It was rewritten to use a GraphQL API instead, with settings per platform for each post type. Build integrations so they’re easy to swap out, because they will change.
The image output is always the same. Every upload goes through the same steps: crop to square, resize to 1080×1080, add the overlay, set the headline, upload to storage. The scheduler pulls the image from a public URL when it’s time to post. Same input, same output, every time.
What this is really about
The blank-page problem and the over-engineered workflow problem look different, but they come from the same place: the tool makes the person do the hard work instead of doing it for them.
Give someone a short form, AI-written copy, and a branded image ready to go, and the hard work is done. They decide what kind of post, which photo, and when to send it. That’s it.
Low enough floor that anyone can use it. High enough result that it looks like it came from a pro.